Festive Bokeh – Tis The Season To Be Creative
9th December 2016
9th December 2016
Bokeh is a word which comes from the Japanese language and literally translates in English as ‘blur’. Photographers strive for a higher quality blur (bokeh) in the out-of-focus areas of the image as it is an important part of creating more aesthetically pleasing photographs.
This enables photographers to draw our attention specifically to the focused area of the photograph and you may have seen this effect in some evening photographs where any background lights are rendered as almost perfect circles (bokeh balls).
A new craze, which is sweeping the internet, is focused on manipulating these bokeh balls into whatever shape you wish and we are going to show you how.
 Bokeh Balls
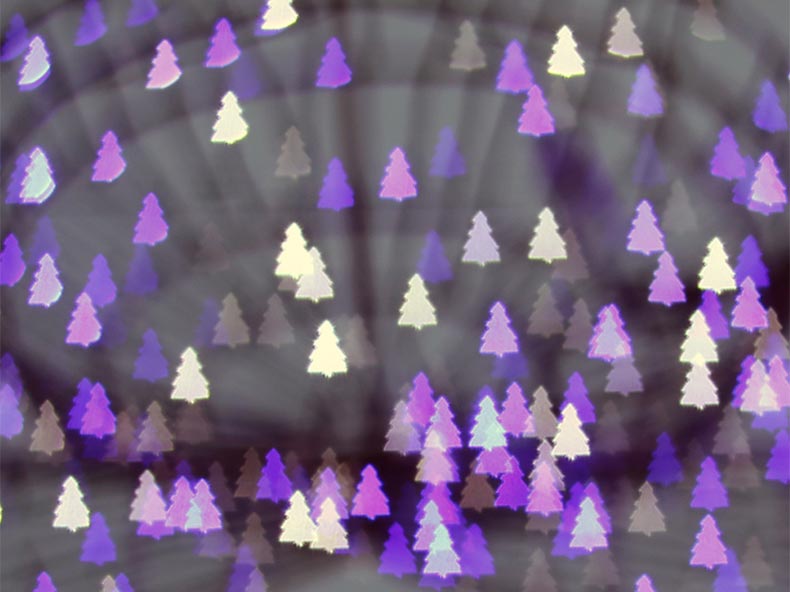
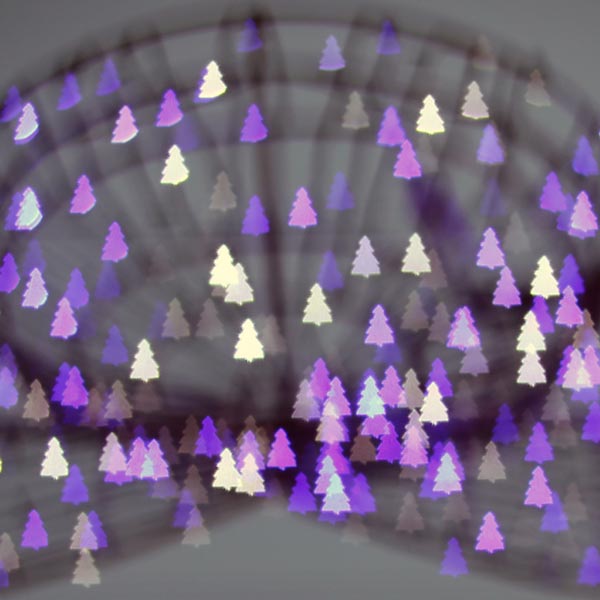 Bokeh Christmas Trees
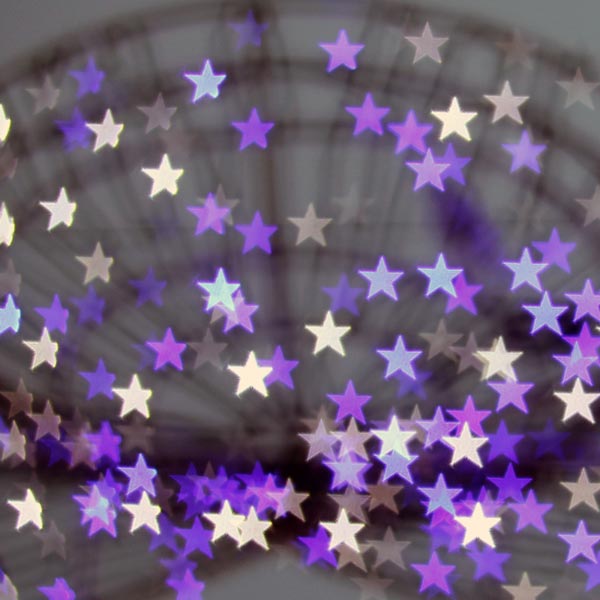 Bokeh Stars
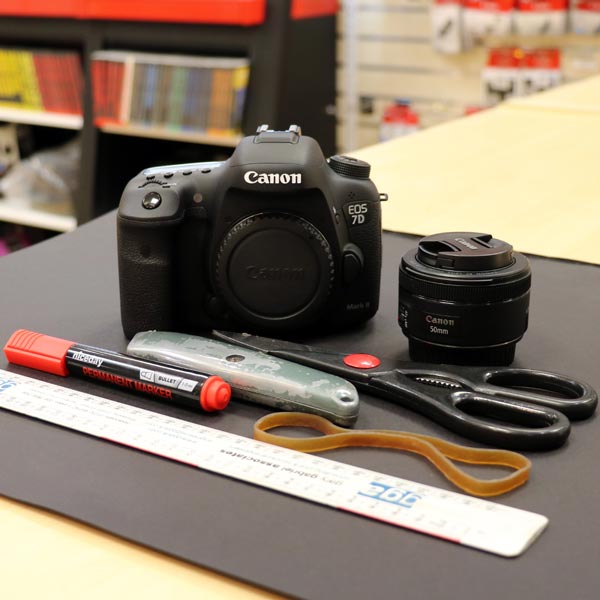
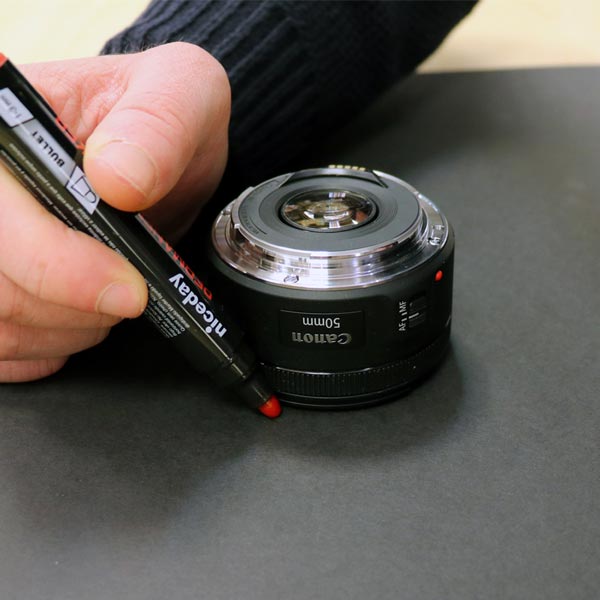 Step 1: Put your lens front down on the black card & draw all the way round it.
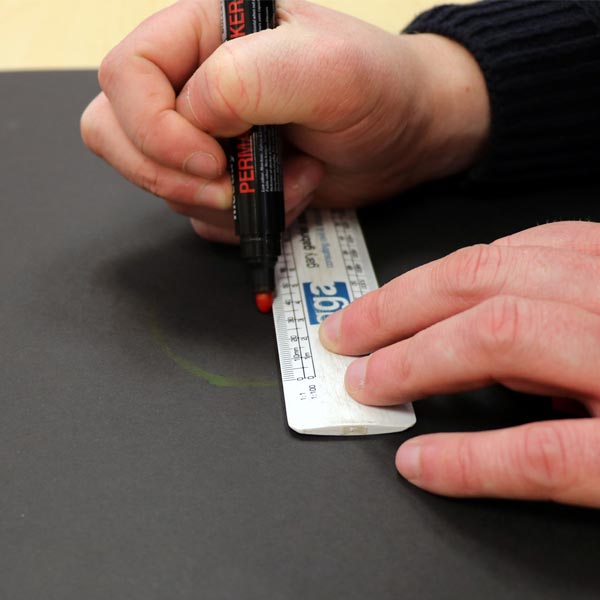 Step 2: Mark the centre point of your circle.
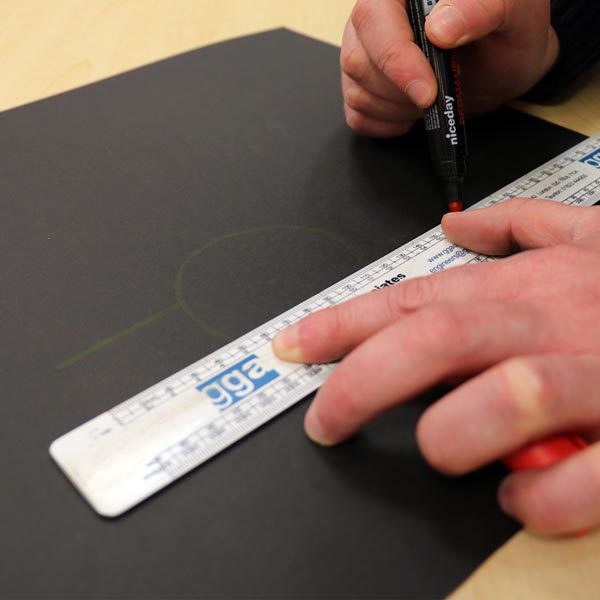 Step 3: Using your ruler, mark 2 flaps either side of the circle (we would recommend 3.5cm wide & 3.5-4cm long).
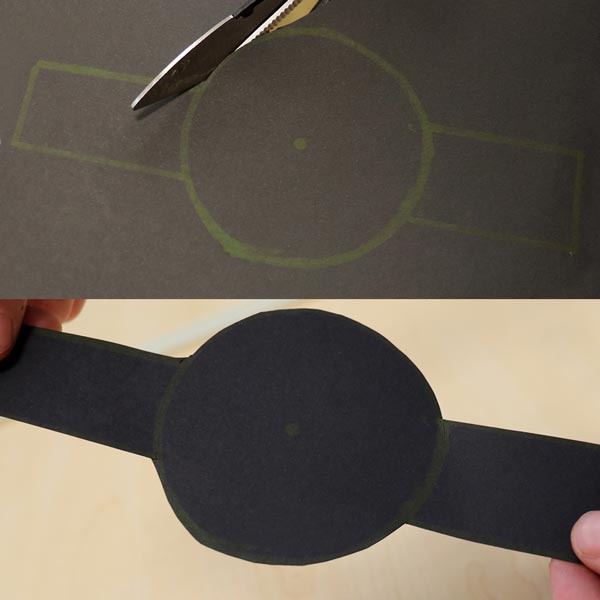 Step 4: Cut out the Circle/Flaps template.
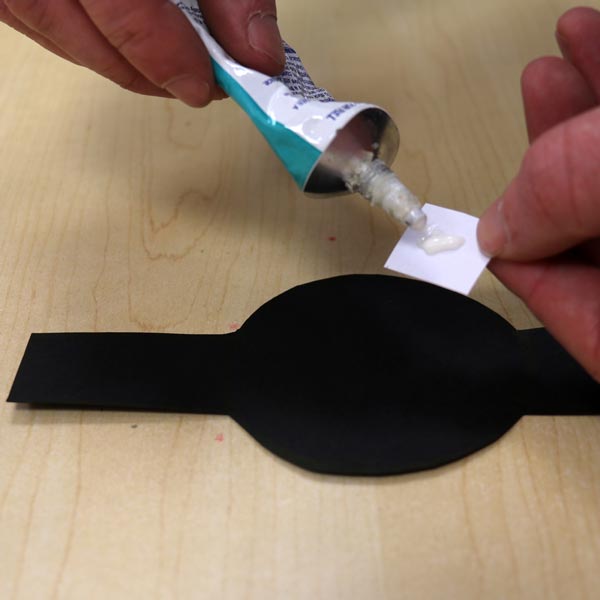 Step 5: You can now draw your design on the card in the centre of the circle or as we have done it, printed off our design & glued it in the centre (Please note: the size of the design is recommended to be approximately 15-20mm).
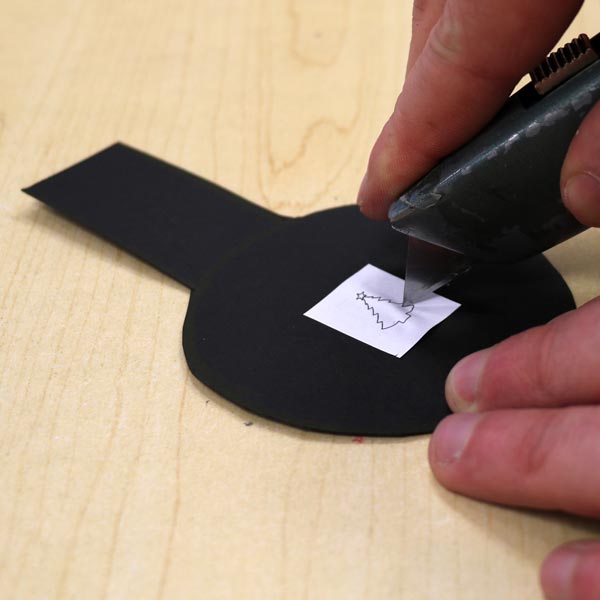 Step 6: Now you can begin cutting out your design (Please be careful & do not allow children to do this unattended).
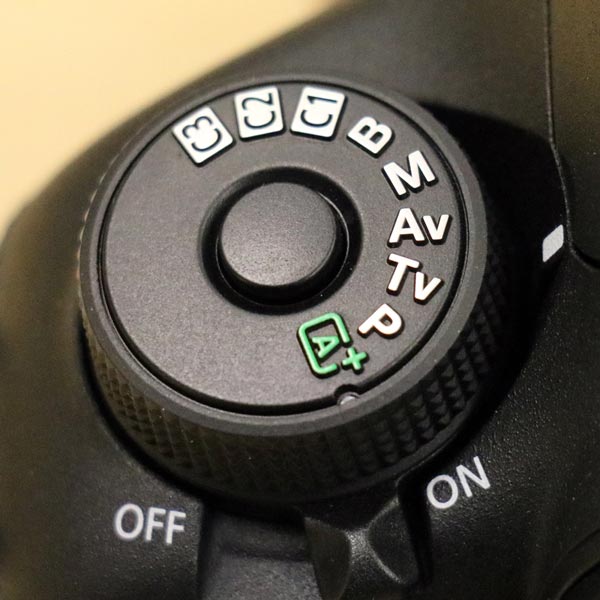 Step 7: Now turn your attention to the camera. The camera is best set to AV (Aperture Priority).
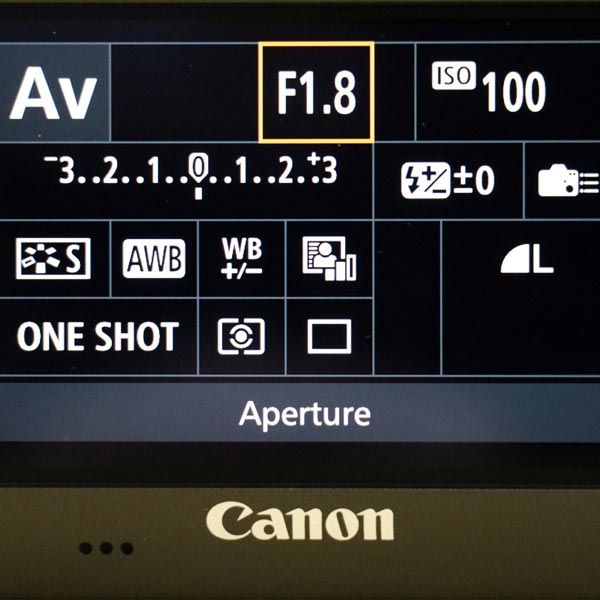 Step 8: Select the lowest Aperture number .ie. F1.8
 Step 9: If the lens has switch AF & MF, you are best selecting MF & manual focusing the camera. (Please note: with some camera models, you have to select MF in the cameras menu options).
 Step 10: Now attach your template to the front of the lens via the elastic band (Please note: you must be able to turn the manual focusing ring on the lens).
You are now ready to create mesmerising bokeh effects (like those shown and many more).
There is a brilliant opportunity to try out what you have learnt by heading down to The Pantiles and seeing what festive bokehs you can create from the beautiful Christmas lights on display.
Brought to you by the Pantiles Cameras.